
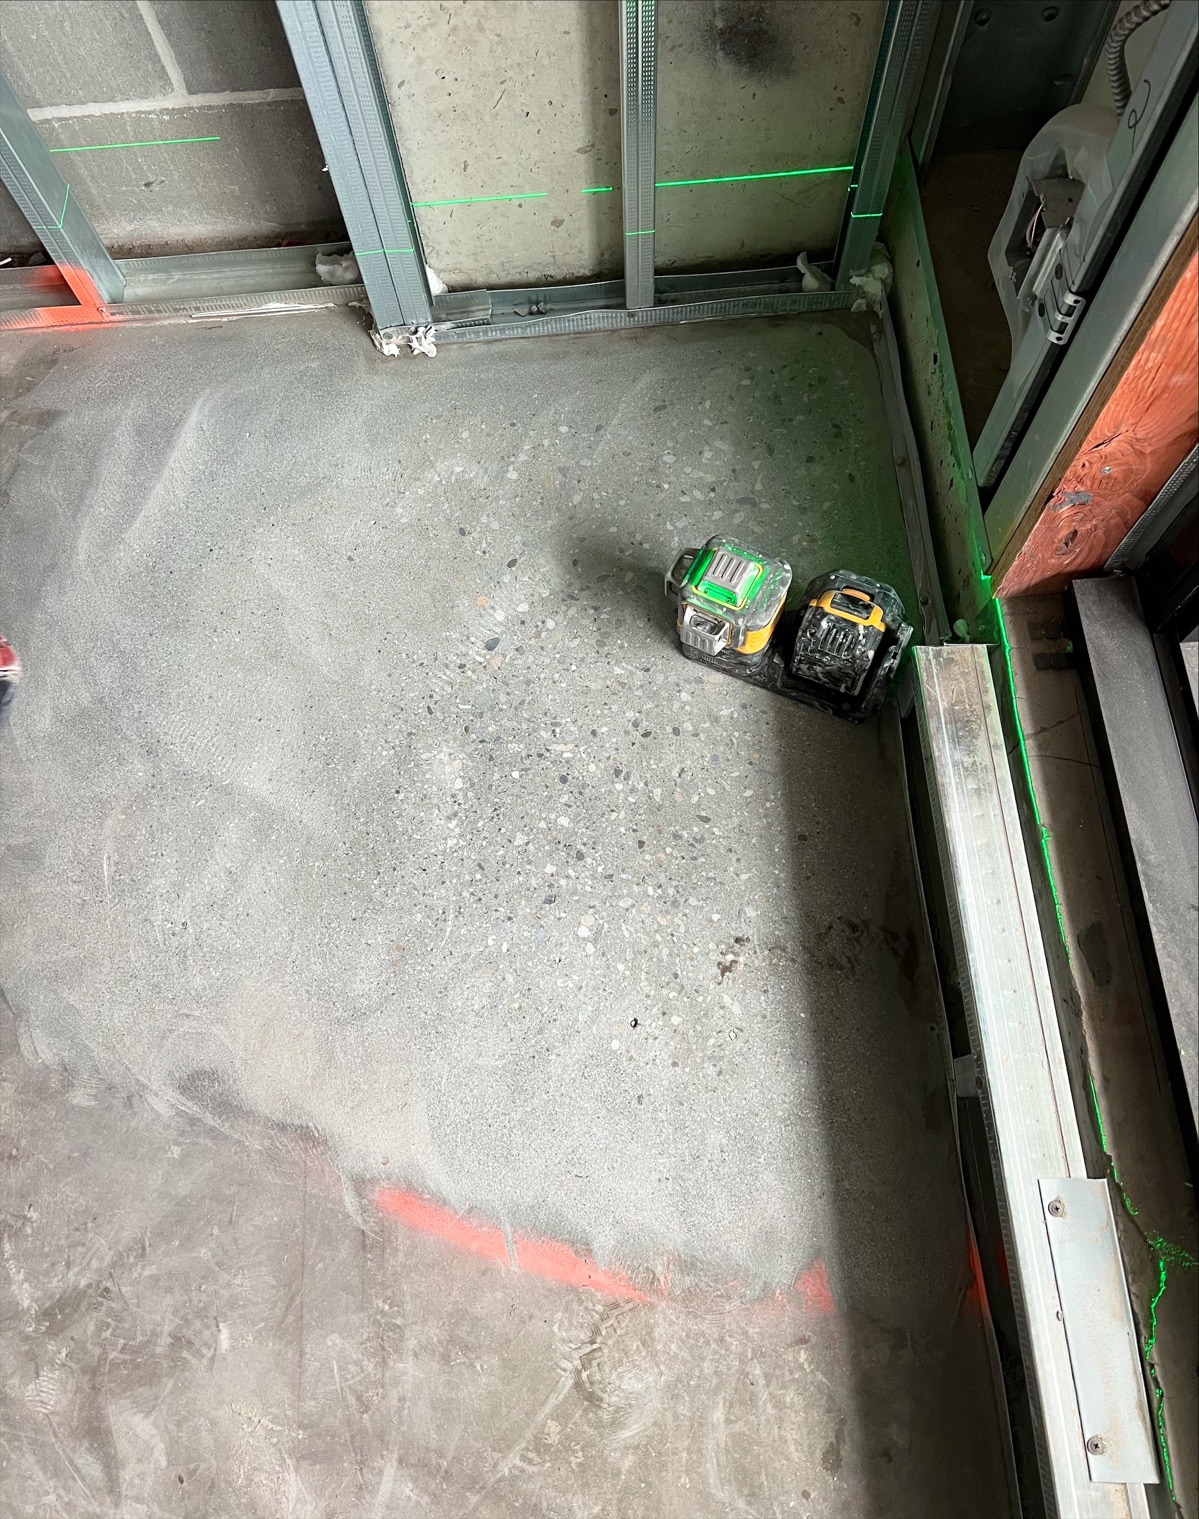
Slab Assessment
Measure first, then decide between grinding, spot levelling and full-area levelling.
See the slab before you decide.
A plan-view map of measured points shows where the floor is high, where it is low, and how much correction each area needs.
Illustrative layout, not a promised deliverable or an engineering report. What is measured, what you receive and any acceptance criteria are agreed per project.
Discuss slab assessment requirements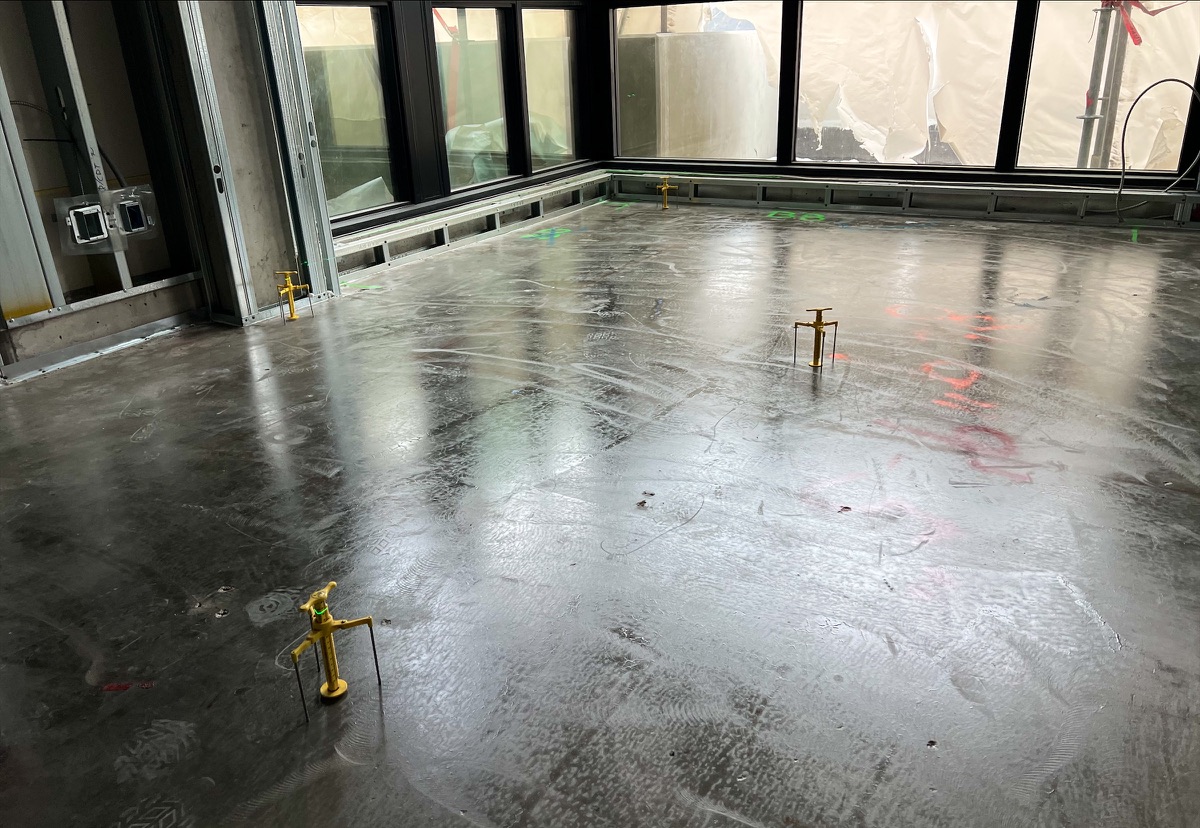
From points on the floor to a plan.
In this illustration each marker stands for a point on the floor; a plan groups points into high, low and acceptable areas so the correction can be chosen area by area. Markers and values on this page are illustrative.
The correction should match the floor.
Two different questions about a floor.
Most finished floors need a flat base; levelness matters when elevations, thresholds or large areas have to tie in.
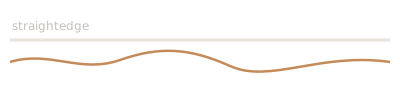
How even the surface is
Bumps and dips over short distances. This is what the finished floor feels: gaps under planks, hollow tiles, visible ridges.
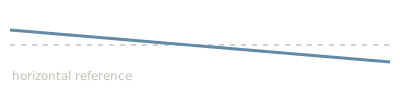
How close it is to horizontal
A floor can be flat and still slope across a room. Levelness is set when elevations have to match, and is agreed in writing.
Measure. Assess. Correct. Verify.
Correction follows assessment: only as much work as the floor needs.

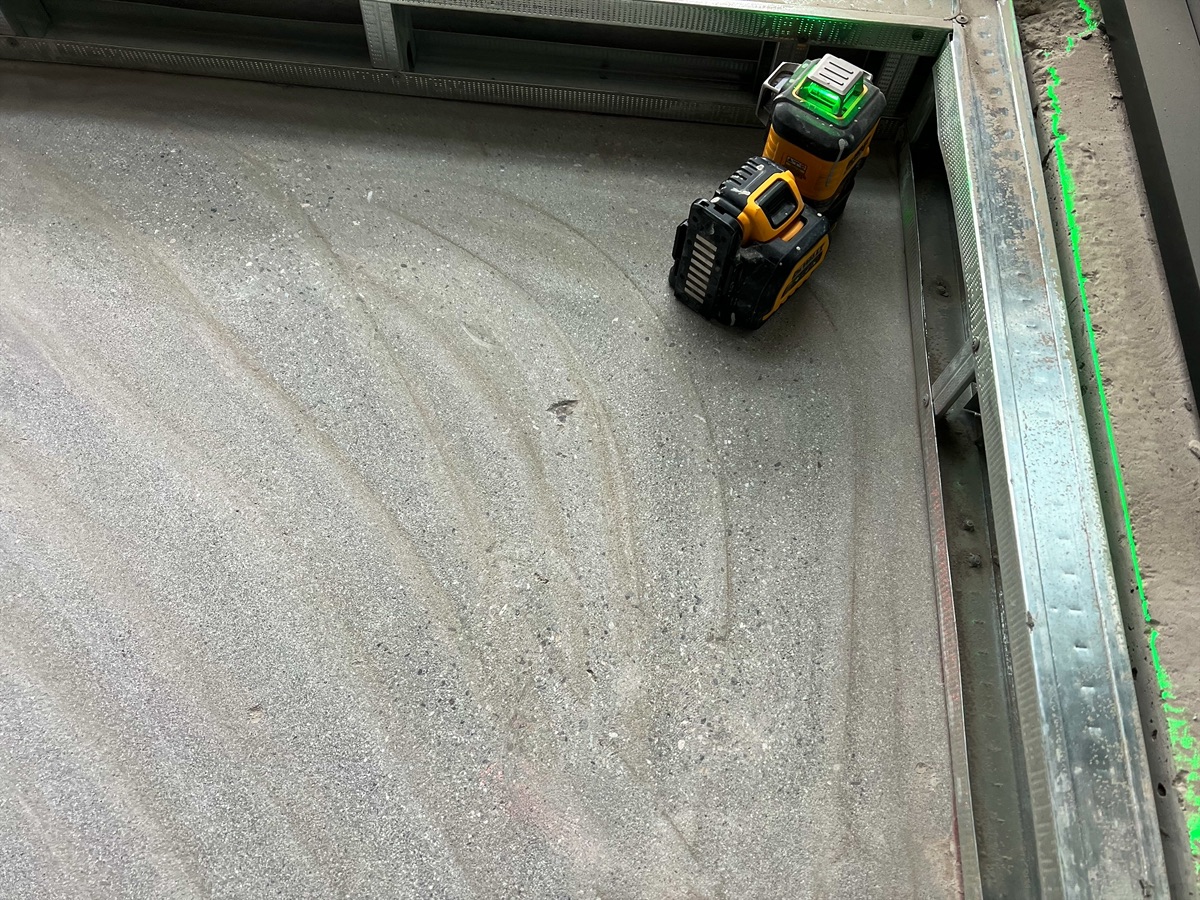
Readings across the slab, not guessed from one corner.
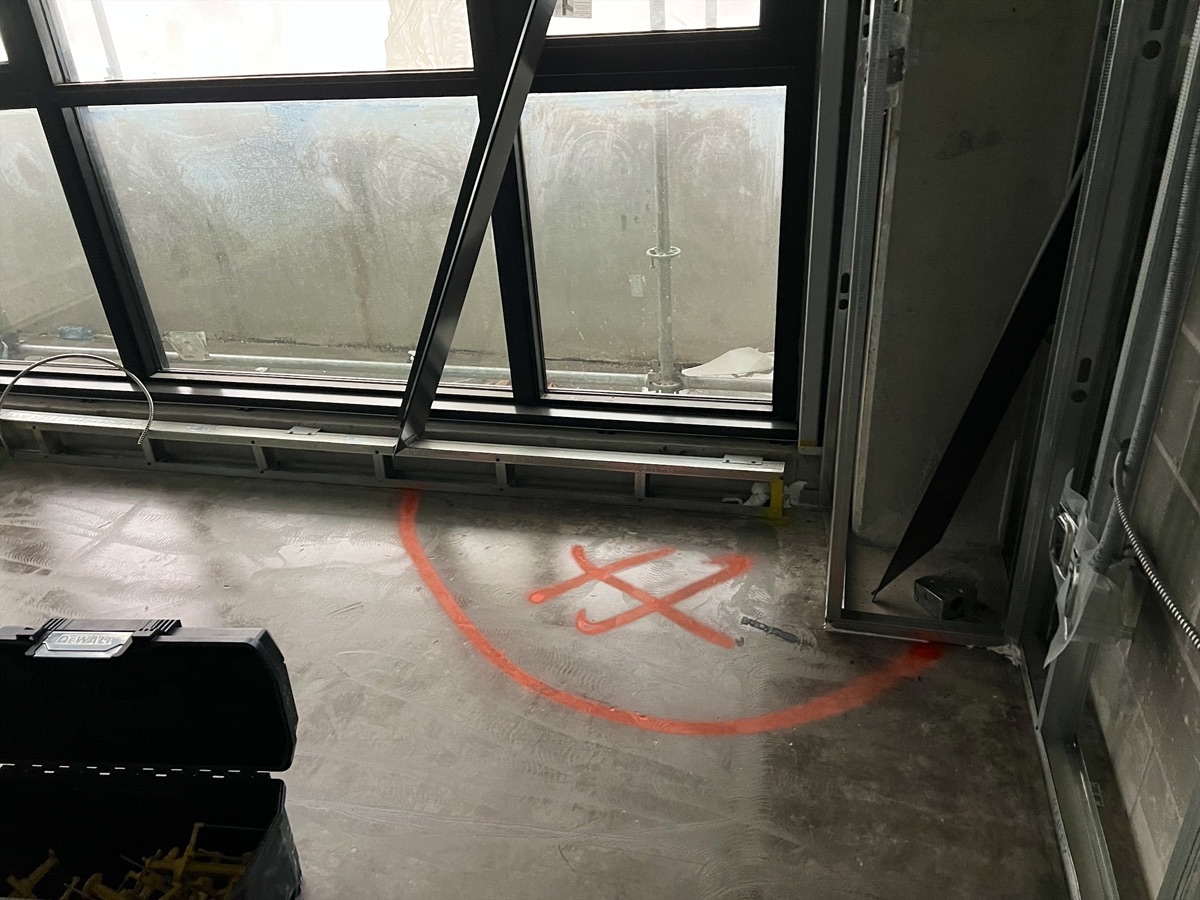
High and low areas marked against what the finished floor needs.
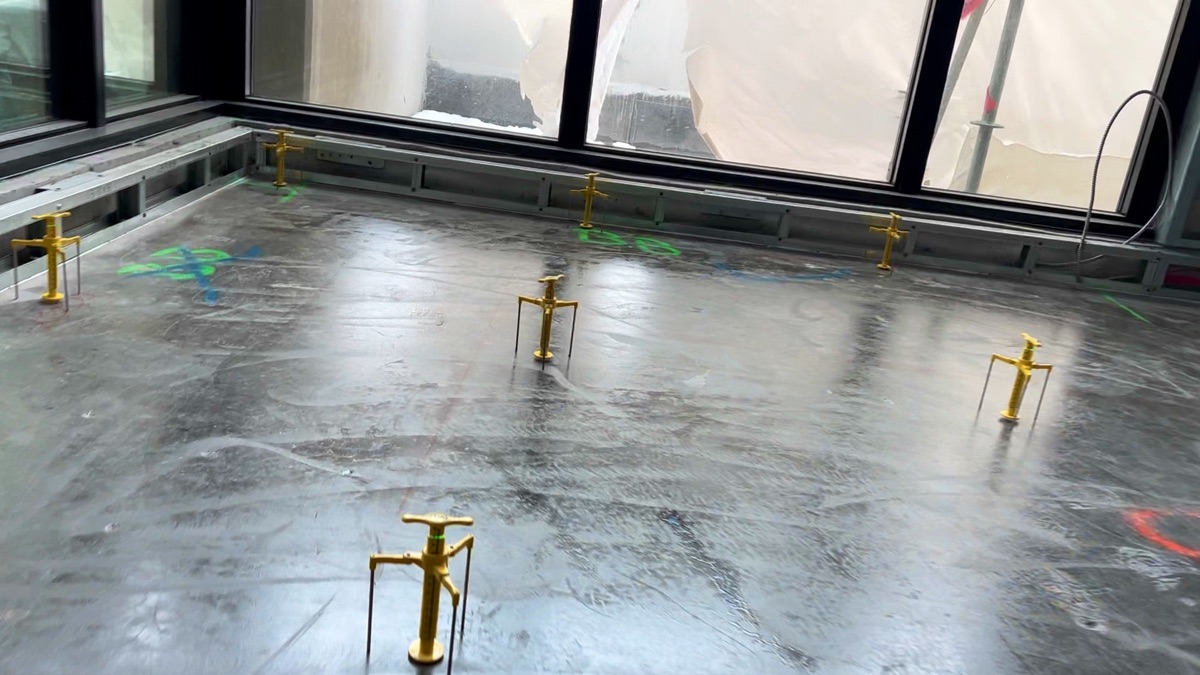
Grinding or spot levelling where that is enough; full-area levelling when the floor needs it.
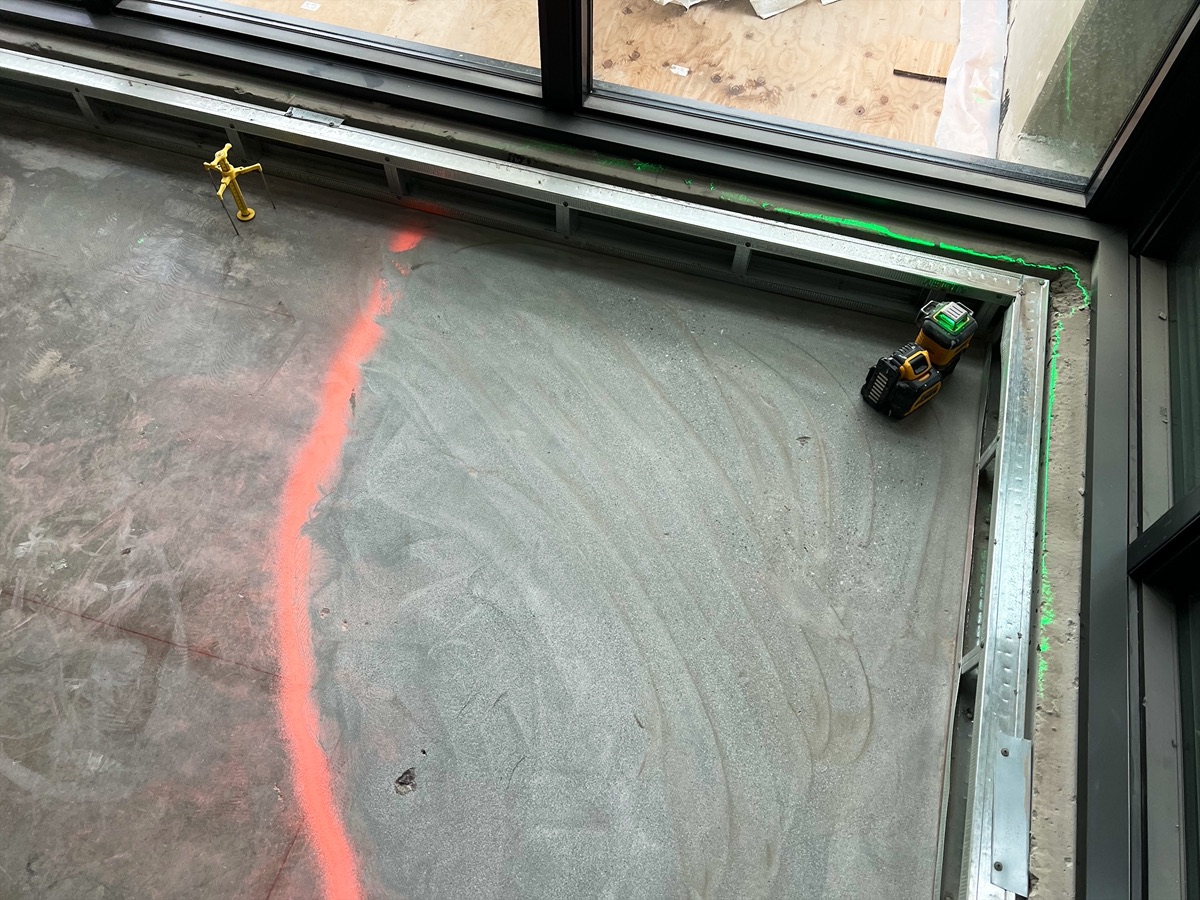
Each area checked against the agreed acceptance before flooring.
Tell us about the floors.
Send drawings, floor areas and the specified finish, and we will tell you what we need to price it. Plans and specifications: email them to info@luxuryinterior.ca after sending the form.
 Hardwood Flooring

